Installing the tap in Garden
Instructions for installing the tap in the garden
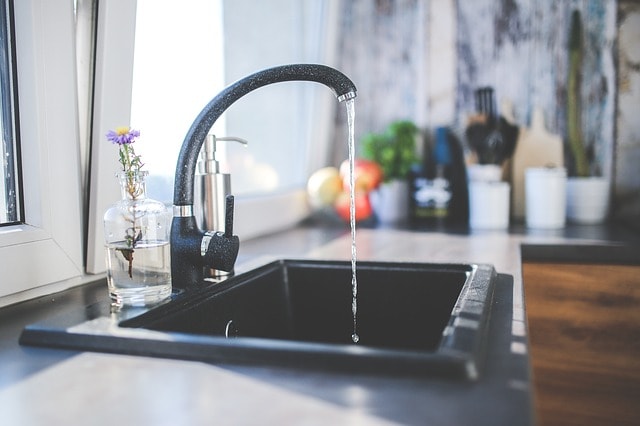
Install a manual for the faucet in the garden. Because if you are in the pleasant situation of having enough space next to your shuttercraft house for a garden, you naturally want to use it. At last you can look at the wonderful plants and supply yourself with home-grown fruit and vegetables over a long period of time.
Tool for faucet installation
To install the faucet successfully, you will need the following tools at the beginning:
A drill with an appropriate drill suitable for the material to be drilled through. In most cases this will be stone or concrete.
A metal saw that can be used to saw out a piece of the existing water pipe.
Coarse and fine sandpaper or alternatively an angle grinder to grind new, sharp pipe edges smooth again.
A pipe wrench or a wrench to tighten the new pipe connections and the water tap.
Faucet Installation Materials
The materials you need to install a faucet are also manageable and can be purchased from a DIY store or specialist online retailer:
Copper cables of the required length
T-connection with valve
a drain cock
compression fittings
Sealing compound or hemp threads or special tapes to seal the screw connections between the water tap and the end of the water pipe.
Finally, only the part that will be visible at the end of the house wall is still missing: Your new faucet. This should of course be weatherproof and suitable for outdoor use.
Installation step 1
Once you’ve made all the preparations, you’re ready to go. Drill a hole of about 20 mm from the inside to the outside at a height of about 50 cm where the water pipe is located in the house. You should drill slightly downwards so that no rainwater can run into the hole. Afterwards you should turn the main tap of the water pipe so that no mishap can happen.
Installation step 2
Now cut with a metal saw a piece of about 2 cm from the water pipe and sand the newly created ends carefully first with coarse, then with fine sandpaper.
Installation step 3
The T-connection, which adds a new connection point to your pipe at a 90° angle, is then inserted into the newly created 2 cm recess in the pipe and tightened using the compression fittings and the pipe wrench. The two compression fittings should now connect the two ends of the T-connection with the corresponding pipe ends.
Installation step 4
Now attach the copper pipe to the new connection point and ensure that you can attach a drain tap to the new water pipe at a point deeper than the borehole leading to the tap. This can be achieved by integrating a U-shaped piece of pipe into the pipe with the said drain tap at its lower centre. To be sure that the installation will work, leave the end of the copper pipe out of the wall so far that the tap can easily be screwed onto the thread.
Installation step 5
In the last step you only have to seal the hole in the house wall and screw on the new tap. Before screwing on the faucet, wrap a few hemp threads around the thread at the end of the pipe to seal. To completely close the gaps between the pipe and the wall, simply inject some construction foam or sealing compound into the cavities. Now all you have to do is open the main tap and the valve on the T-joint and the water can flow.
Think about cold seasons in time
So that your newly installed water connection will last for a long time, you should always follow this one basic rule: Before it gets really cold in winter and temperatures gradually fall below 0°C, it is important to temporarily shut down the water pipe, close the T-connection valve and let the excess water out of the pipe using the drain tap. When the danger of frost is over – in most cases in March or April – you can put the tap and pipe back into operation and the water supply is guaranteed again in the new gardening season. These helpful tips are suitable more efficiency and improvement in homes and to other places.